How to Shop at an Independent Stationery Store: A Paper Lover's Checklist
October 31, 2026 - Stationery

October 22, 2026 - Daily Practice
Most beginners meet the same fork in the road within a week of starting calligraphy: a brush pen or a dip pen. One is essentially a marker with a flexible tip; the other is a steel nib on a holder with a bottle of ink beside it. Both can produce a convincing thick-to-thin stroke, and both look wonderful in photographs of other people's desks. But they reward different habits, punish different mistakes, and ask for different amounts of patience. Choosing well at the start saves months of quiet frustration.
A brush pen carries its ink inside. The tip might be a felt or synthetic fibre point (the Fudenosuke-style pens), or a bundle of nylon bristles that behaves much more like a real brush. You uncap it, you write, you recap it. Pressure comes from the give in the tip, and the ink arrives at a steady rate whether you are writing fast or slow.
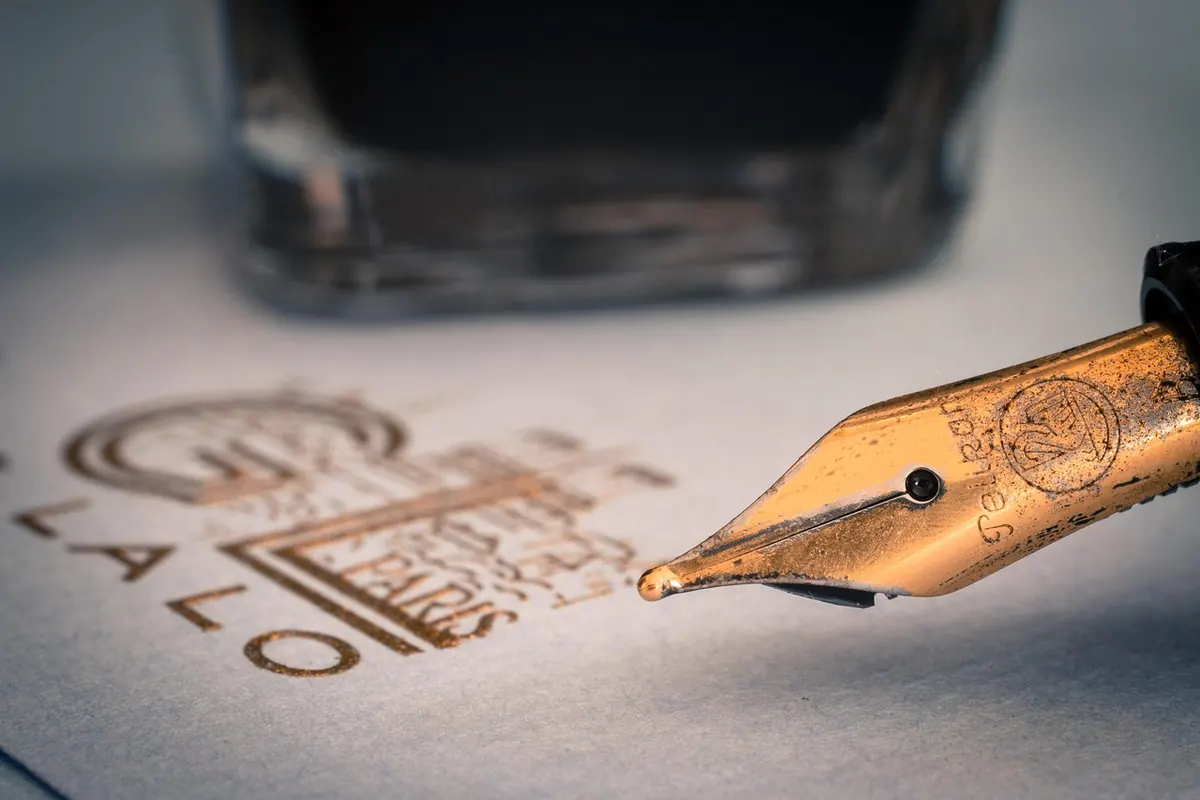
A dip pen carries its ink on the nib. You lower the nib into a shallow pool of ink, lift it, and write until the reservoir runs dry — usually somewhere between two and eight words, depending on the nib, the ink and how much you loaded. The nib is metal, often with a slit and a breather hole, and it flexes under pressure. When the tines open, the line widens. When you release, it snaps back. Steel has a memory that no synthetic tip fully imitates.
The difference in mechanism explains almost every other difference that follows.
Brush pens are the more forgiving tool. They work at almost any angle, tolerate a slow hand, and hold their ink supply so you can focus on letterform rather than logistics. Felt-tip versions are firmer and give you a consistent line — excellent for learning where strokes start and stop, less useful for dramatic thick-to-thin contrast. Bristle pens sit in between: more expressive, less predictable, and quick to show you when your hand wobbles.
Dip pens give you more feedback and less mercy. A flexible nib like a Nikko G or a Brause Steno responds to a very light touch, and beginners routinely press too hard, splay the tines and catch the paper. The upside is precision. Once you can control that nib, you can control almost anything, including a pointed brush later on. The dip pen teaches pressure, angle and speed simultaneously because it has to.
If you write with a hooked left hand, a brush pen is usually the easier entry: you can rotate the pen and still get ink. With a dip pen, the nib has to meet the paper at a shallow angle, and an oblique holder — one with the flange set off to the side — often solves the problem. Try one before deciding the tool is impossible.
Setting up a brush pen takes as long as removing a cap. Setting up a dip pen is a short ceremony, and it is worth learning properly:
That is not a burden, but it is a ritual, and rituals have a cost: they raise the barrier to a five-minute practice session. Brush pen work fits into gaps. Dip pen work wants a cleared table and a quarter of an hour.
A brush pen asks almost nothing: recap it, store it horizontally, replace it when the tip frays. Bristle pens need a rinse if you switch inks, and some models take refill cartridges or converters.
A dip pen must be rinsed and dried after every single session. Ink left in the slit dries, blocks the flow, and holds moisture against the steel. Rust starts quietly and the nib is finished. Dry it with a cloth, not by leaving it on the desk to air dry. Keep a couple of spare nibs; they are inexpensive and they do wear out, especially if you press hard.
Both tools are cheap to try, but the money goes in different directions. A brush pen is one modest purchase that runs dry or frays and gets replaced — a running cost. A dip pen starts with a holder and a nib (both inexpensive) plus a bottle of ink that will last a very long time, then continues almost free. What actually consumes the budget is paper, and dip pens consume more of it. If you fall in love with pointed-pen script, expect to spend on smooth, sized paper and on nibs as you work through different flexes.
The honest advice: buy one of each. A single brush pen and a single nib and holder will cost less than a decent notebook, and you will learn more in a fortnight of alternating than in a month of reading comparisons.
Brush pens get you to presentable letters faster. That early success is motivating, and it matters more than experienced calligraphers sometimes admit. The risk is that the pen flatters a heavy hand: it flexes back no matter how hard you press, so bad pressure habits can hide for months.
Dip pens feel clumsy for a week or two. Then something clicks, and you notice your hand has become lighter and your strokes more deliberate. Here is a first fortnight that works:
Do the same drills with the brush pen on alternate days and the two tools start informing each other. The brush pen teaches form and rhythm; the dip pen teaches pressure and ink control.
If you want to letter in a notebook on the train, decorate envelopes at the kitchen table, or keep a five-minute daily habit, start with a brush pen — the firm felt-tip kind for lettering practice, a bristle pen later for expressive work. If you are drawn to copperplate-style script, want to feel the tool respond under your hand, or like the idea of a proper desk ritual, start with a dip pen and one moderately stiff nib. Stiff is kinder while you build the touch; save the very flexible nibs for later.
Either way, buy one of each soon. The comparison stops being theoretical the moment ink is on paper, and the tool you reach for without thinking is the one worth committing to.
A practical checklist for shopping at independent stationery shops: how to test paper, ask the right questions about...
A seven-day autumn writing plan with daily prompts, short exercises and reflection questions — enough structure to...
Copyright © 2026 Amanuense Ogni Giorno. All Right Reserved.